
Last updated November 22, 2026
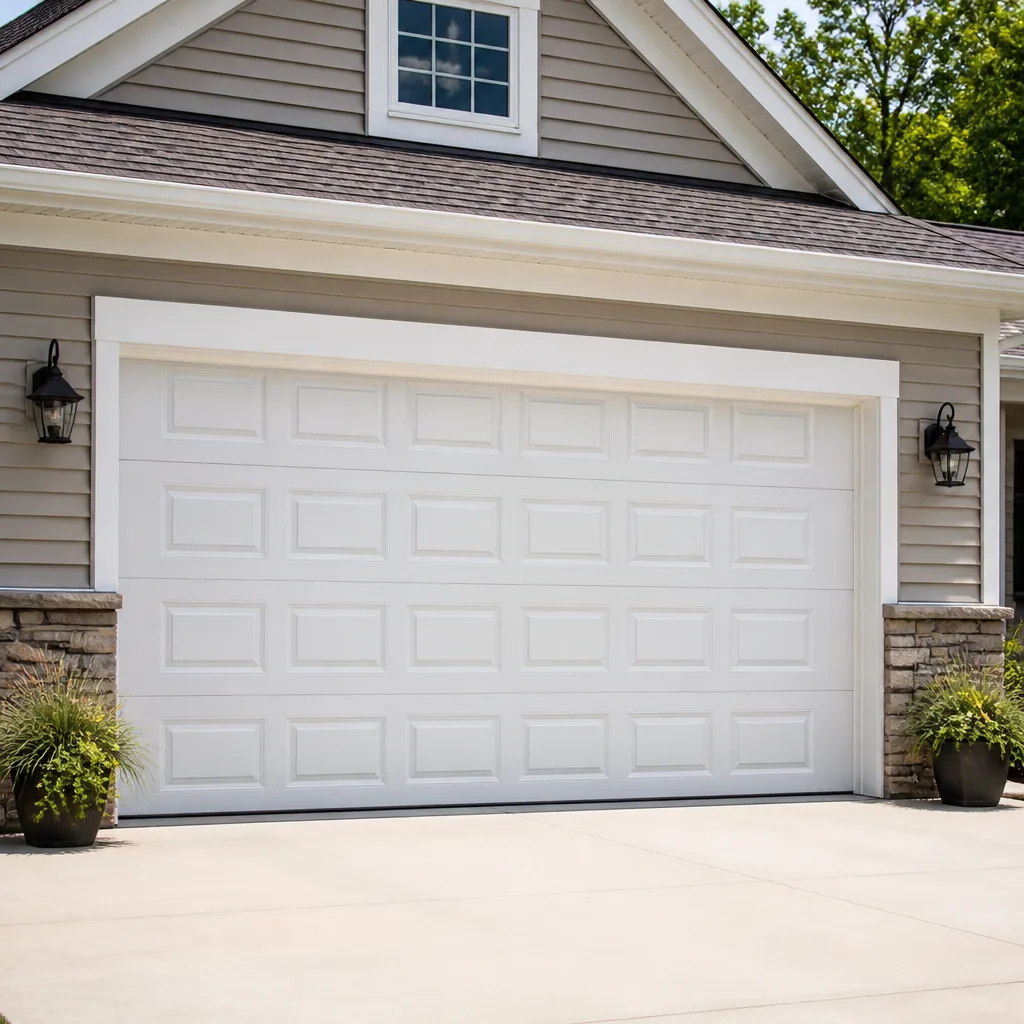 Raised-panel steel
 Carriage house
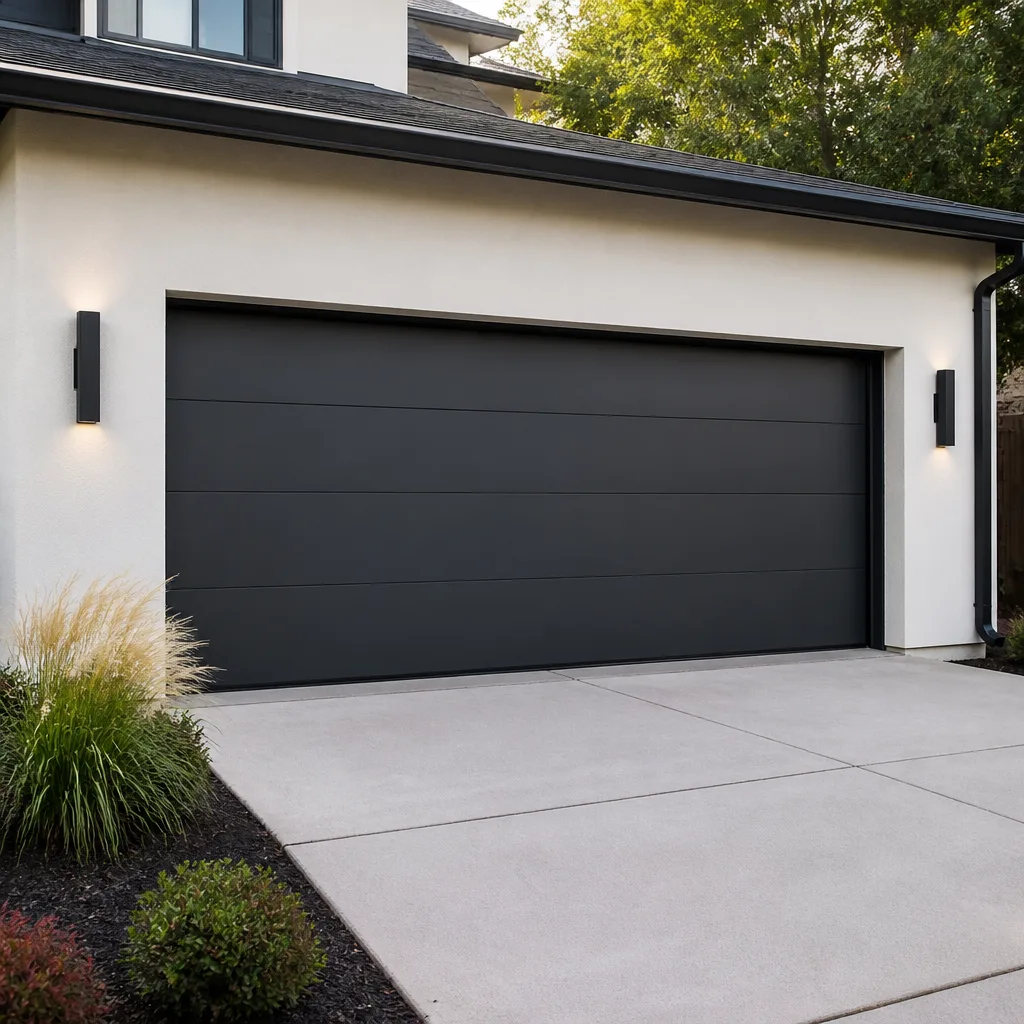 Modern flush
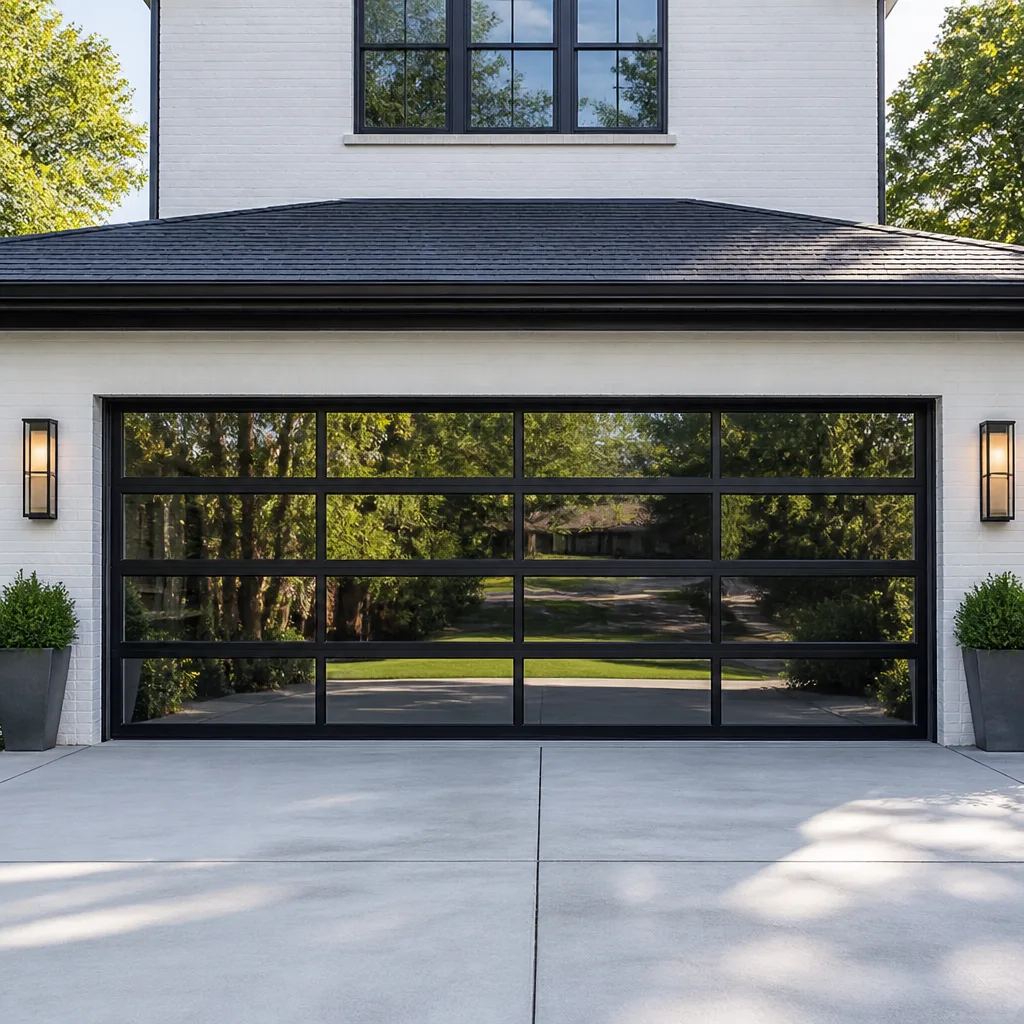 Full-view glass
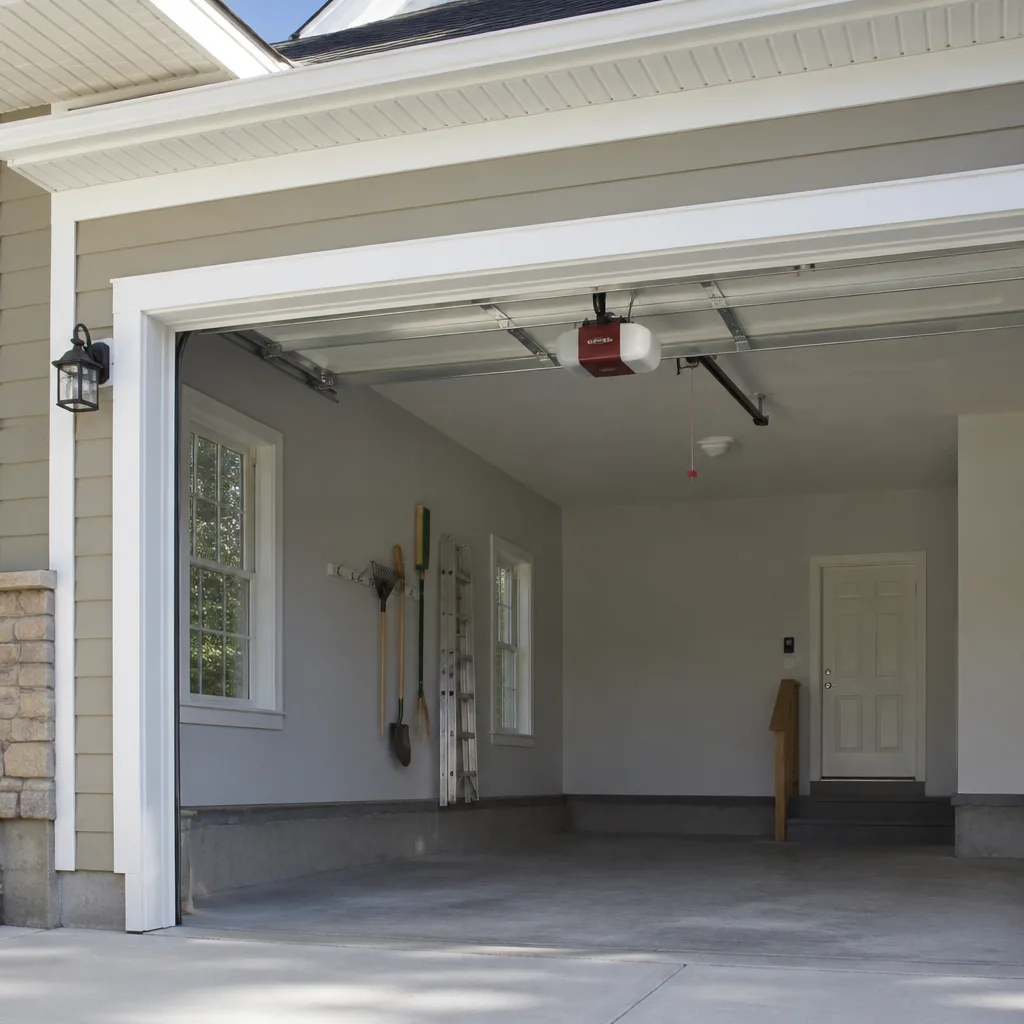 LiftMaster openers
 Chamberlain openers
Full 25-point door and opener safety check with every visit - springs, cables, rollers, tracks, and your LiftMaster or Chamberlain opener included
You get a price before we start. It does not change when the pro arrives.
Get your free estimateGarage Door Repair Maintenance Checklist for Pompano Beach Homeowners
Most garage door maintenance advice you’ll find online was written for a place with four seasons and dry air. That’s not Pompano Beach. Here, the thing that wears out your door fastest isn’t age or heavy use – it’s moisture. The humid air and near-constant damp of a South Florida summer work their way into hinges, rollers, and the torsion hardware every single day, and a door that goes years without lubrication will corrode and fail long before it should. We’ve seen doors half the expected age fail purely because nobody greased them. So this guide is a checklist built the other way around: sequenced around what actually fails first on a Pompano Beach door, not what looks tidy on a generic list. Follow it twice a year and you’ll head off most of the service calls we get.
Quick Answer
A garage door maintenance checklist in Pompano Beach should cover six priority areas, done twice a year: lubricate all moving metal parts (hinges, rollers, springs, tracks) with a silicone- or lithium-based lubricant, inspect and rinse corrosion off the torsion bar and hardware, test the door’s balance and safety reverse, check and reseal the weatherstripping before and after the wet season, and look over the hurricane-rated wind-load hardware. Spring tension checks and any torque-related adjustment are not DIY tasks – leave those to a trained technician.
Styles & brands we work with
- Raised-panel steel
- Carriage house
- Modern flush
- Full-view glass
- LiftMaster openers
- Chamberlain openers
Table of Contents
- Why Pompano Beach Doors Need a Different Checklist
- Step 1: Lubrication – the Task That Changes Everything
- Step 2: Corrosion Inspection on the Torsion Bar and Hardware
- Step 3: Balance and Safety Reverse Test
- Step 4: Weatherstripping and the Wet/Dry Season Cycle
- Step 5: Hurricane-Rated Wind-Load Hardware After Storm Season
- What’s True DIY and What Isn’t
- Your Twice-a-Year Schedule by Season
Why Pompano Beach Doors Need a Different Checklist
If you’ve ever pulled up a garage door maintenance guide from a national site and felt it didn’t quite fit, there’s a reason. Most checklists assume a dry, temperate climate where the main threats to a door are dust and occasional cold. In Pompano Beach, the threats are different. Warm, humid air holds moisture against bare metal. That moisture accelerates surface corrosion on the steel parts of your door – the torsion bar, the hinges, the bearing plates, the roller stems – and once rust starts on a moving part, wear speeds up. A roller that would glide smoothly for years in a dry climate can start grinding and shedding metal in a couple of seasons here.
The second thing that’s different is storm season. Doors in Pompano Beach are frequently rated to resist wind load, which means they rely on specific hardware – reinforced hinges, heavy-duty struts, and a reinforced track system – to hold together under pressure. That hardware needs inspection after a storm season, and it needs looking at in a particular order. A standard checklist doesn’t tell you that.
And third, the wet/dry cycle. Pompano Beach swings between a rainy season and a drier stretch, and your weatherstripping takes the brunt of both. The seal at the bottom and sides of the door needs checking on a schedule that maps to that cycle, not a generic “once a year” reminder.
That’s the whole idea behind this list: sequence maintenance around what actually fails first here. We work on the brands you already have in your garage – Clopay, Amarr, Wayne Dalton, Raynor doors and the openers that drive them – and the single most common preventable failure we see isn’t a manufacturing fault. It’s skipped lubrication on hardware that’s quietly absorbing moisture month after month. Get that one habit right and you’ve already solved the biggest problem.
Step 1: Lubrication – the Task That Changes Everything
If you only do one thing on this checklist, lubricate. The moving metal parts of your garage door – hinges, rollers, the springs themselves, the bearing plates, and the pivot points – are in constant motion and constantly exposed to humid air. A light coat of the right lubricant displaces moisture, reduces friction, and quiets the whole system. Skip it and those parts corrode, bind, and eventually seize. The door then works harder to move, which puts extra load on the opener and on the springs. You’ll get years more out of the whole assembly with six-month lubrication than without it.
Here’s how to do it properly:
- Start with the door closed and the opener disconnected so the door won’t move while you’re working near the tracks.
- Apply lubricant to each hinge: a drop or spray at every pivot point where metal meets metal. Don’t coat the whole hinge plate – just the moving joint.
- Lubricate the roller stems (the metal shaft the roller spins on), not the roller wheels against the track. The wheels run dry; the stems need the lube.
- Coat the torsion springs with a light film. This does double duty: it quiets the spring and protects it from moisture-driven corrosion.
- Wipe a thin layer on the bearing plates at each end of the torsion bar.
- Run the door up and down a few times to spread the lubricant across the moving surfaces, then reconnect the opener.
Which lubricant actually works in Florida humidity. This is where a lot of well-meaning homeowners go wrong. The right products are silicone-based sprays or a white lithium grease – both resist moisture and coat metal without attracting grit. The wrong products are the ones everyone reaches for out of habit: WD-40 in its standard form and any heavy, tacky grease. Standard WD-40 is a penetrant and light solvent, not a lasting lubricant; it thins out and leaves metal unprotected. Heavy grease and the old “spray some oil on it” approach trap dust and grit from the air, and once grit works into a hinge or roller stem it grinds like sandpaper – the opposite of what you want. A clean silicone or white lithium application every six months is the whole game.
Two spots to leave alone: the tracks and the opener’s drive screw or belt. Tracks should stay dry and clean (more on that below); lubricating them attracts dirt that fouls the rollers. Follow your opener maker’s guidance on the drive mechanism – LiftMaster and Chamberlain setups, for instance, have specific guidance tied to the drive type, and greasing a belt or screw that’s meant to run dry can cause problems.
Step 2: Corrosion Inspection on the Torsion Bar and Hardware
Once lubrication is handled, the next job is looking for corrosion that’s already started. The torsion bar – that horizontal spring-loaded shaft above the door – and the surrounding hardware are the parts most exposed to humid air sitting on bare steel. Run your eyes (not your hands, and never your tools) along the following and note any rust, pitting, or flaking:
- The torsion bar and the springs wound around it – look for orange or brown rust spots, pitting, or flakes.
- Bearing plates at each end of the bar.
- Hinges and roller stems – surface rust on these is common and often cosmetic, but heavy flaking means they’re due for replacement.
- The bottom bracket and lift cables – cables should be free of fraying, kinks, or rust streaks. A frayed cable is a safety issue, not a maintenance item.
- Angle iron and support brackets where the track attaches to the wall.
Light surface rust can often be cleaned up with a wire brush and a fresh coat of lubricant or a rust-inhibiting spray. Heavy pitting or flaking on load-bearing parts means replacement, and that’s a professional call. What you should absolutely not do is climb a ladder and start adjusting the springs or cables yourself to inspect them. Those parts are under extreme tension, and a mistake can cause serious injury. If you see rust, cable fraying, or anything that worries you on the spring assembly, note it and call a technician. That’s exactly the kind of inspection a spring repair visit is built to catch before an actual failure.
The good news: once the hardware is clean and lubricated twice a year, corrosion progress slows to a crawl. It’s the neglected door that rusts through.
Step 3: Balance and Safety Reverse Test
This one is quick and it tells you a lot about the health of your springs and opener. A well-balanced door feels light, moves evenly, and stays put when you let go halfway. An unbalanced door is fighting gravity, and that means the springs are wearing or the opener is doing work it shouldn’t. Do this test every six months, ideally right after lubrication.
The balance test. Disconnect the opener using the manual release (usually a red handle on a rope). Lift the door by hand to about waist height, then let go. A balanced door holds its position, maybe drifting a few inches. A door that slams down fast or springs up on its own is out of balance and needs a technician to look at the springs and cables.
The safety reverse test. Photoelectric safety sensors are required on modern openers, and they’re a genuine safety feature – they stop the door if something’s in the way. Test them:
- Reconnect the opener and close the door fully.
- With the door open, wave a hand or a flat object through the sensor beam (the little lenses near the floor on each side of the track) and see if the door reverses. It should.
- Next, test the mechanical reverse: lay a piece of wood flat on the ground in the door’s path and close the door. It should reverse on contact with the wood.
If the door doesn’t reverse on contact, or the sensors don’t respond, that’s a safety failure. You’ll want it corrected before using the door again. Modern openers from LiftMaster and Chamberlain include these sensor systems, and they’re generally adjustable – but the adjustment is a technician’s job, because the force and travel limits are involved. Pompano Beach doors get a lot of daily cycle use – as the primary entry point for many homes – so these tests matter more than on a door that opens once a day. If your opener is failing the safety test repeatedly, that’s a real sign it’s time to look at repair.
A note on the door itself: the panels take a beating too. Check that no panels are cracked, that hinges are snug (finger-tight, never overtightened), and that the door isn’t rubbing on the track at any point during travel. Rubbing means the door or track has shifted, and that’s a professional adjustment.
Step 4: Weatherstripping and the Wet/Dry Season Cycle
Weatherstripping does two jobs: it keeps water and wind out, and it keeps your cooled air in. In Pompano Beach’s wet/dry cycle, it takes the hardest hit of any part of the door. The bottom seal (the vinyl or rubber flap along the bottom edge) sits on the threshold and gets wet with every rainy stretch. The side and top seals run along the jambs. When these degrade, water gets behind the door, pests find their way in, and the door’s seal against wind load weakens.
Check the seals on a cadence that maps to the seasons:
- Before the rainy season: run your hand along the bottom seal and press it. It should be pliable and spring back. Look for cracks, flat sections, and gaps between the seal and the floor when the door is closed. Check the side seals for tears or sections that have pulled away from the jamb.
- After the rainy season: do the same check again. This is when you’ll catch the damage the wet months caused – splits, mildew, hardening, and seals that have started to tear.
- Any time you notice daylight or a draft under or around the door: that’s a seal that needs attention.
Replacing a bottom seal is one of the genuinely friendly DIY tasks. It’s usually a slide-out vinyl insert, and most homeowners can do it with a pair of pliers and a new length of seal. Side seals are a little more involved. But if the damage is at the track, the threshold, or the retainers, or if the door isn’t closing flush because of a balance or track issue, that’s beyond the seal itself and worth a professional look.
Also check the threshold: if water pools against the door during heavy rain, the seal isn’t doing its job or the threshold needs attention. In a Pompano Beach home where the garage doubles as storage and a daily entry point, keeping that seal intact protects a lot more than the door.
Step 5: Hurricane-Rated Wind-Load Hardware After Storm Season
If your door carries a wind-load rating – many Pompano Beach garage doors do, because codes in this part of Florida account for storm exposure – the hardware that gives it that rating needs an annual look after the storm season. This isn’t about spraying lubricant and calling it done. It’s about verifying that the extra reinforcement is intact and correctly attached.
What to look at:
- Reinforcement struts on the back of the door panels. These are the horizontal braces that stiffen the door. Check that they’re attached, straight, and free of corrosion at the mounting points.
- Reinforced hinges and brackets where the door connects to the track system. Look for loose fasteners or bent hardware.
- The track system: heavy-duty tracks and brackets are part of the wind-load rating. Look for loose anchor bolts into the wall and any bending or separation.
- Any impact-rated or storm-smart components the door was supplied with. If you’re not sure what hardware your door has, the original door install documentation will list it – and a technician can identify it on sight.
Two things to be careful about. First, wind-load ratings are a package: they depend on every piece of reinforcing hardware being in place, correctly tightened, and in good condition. A missing strut or a hinge that’s pulled loose changes the rating, and you want it corrected. Second, don’t overtighten or replace fasteners with whatever’s in the toolbox. The hardware is matched to the rating. If you’re unsure, have it checked. This is also a good moment to look at panel condition: a door with a cracked panel or a bent section isn’t going to perform to its rating no matter how good the hardware is. If your door is older and you can’t tell what rating it carries or what it needs, a free estimate on door repair or replacement options can settle the question – and Amarr, Clopay, Wayne Dalton, and Raynor all make wind-rated door systems if the answer is that a replacement makes more sense than endless repair.
What’s True DIY and What Isn’t
We’re big advocates of homeowners handling the routine stuff. A door that gets lubricated and inspected twice a year is a better-served door than one that gets a technician visit, and there’s no reason to pay for things you can confidently do yourself. But some parts of a garage door are genuinely dangerous, and it’s worth being honest about which is which.
Safe to do yourself:
- Lubricating hinges, roller stems, springs, and bearing plates with silicone or white lithium.
- Cleaning the tracks with a dry cloth and checking for debris.
- Inspecting for rust and noting problem areas.
- Replacing a slide-out bottom weather seal.
- Running the balance and safety reverse tests.
- Visually checking wind-load hardware and noting loose or damaged parts.
Not safe to do yourself – specifically spring tension and anything attached to it:
- Adjusting or winding torsion springs. The springs are under enormous stored force. They’re wound with specific tools and specific turns, and getting it wrong can release that force suddenly. Even experienced technicians treat this as the most dangerous part of the job.
- Replacing springs or cables. Both are under tension. A cable that’s cut or a spring that’s released while you’re working on it can cause severe injury. This is the one area we always tell homeowners to leave alone.
- Adjusting the opener’s force or travel limits. These involve setting the opener’s limits and force correctly; a wrong setting can defeat the safety reverse.
- Replacing a broken spring “to get by.” There’s no safe shortcut here, and mismatched springs cause rapid wear on the rest of the system.
There’s a reason spring repair is its own specialty in this trade: it’s the most common failure point and the most dangerous one. When a spring breaks, you’ll know it – the door suddenly feels incredibly heavy, and there’s a sharp crack. Don’t force a door with a broken spring. Leave it closed and call a technician. The same applies if you find a frayed cable or a door that’s off track. Trying to operate a door with a broken component can damage panels, the opener, or the track – and that’s a much bigger job than the original failure. Knowing when to call is part of the checklist, and it’s what actually keeps your door healthy.
Your Twice-a-Year Schedule by Season
Here’s the whole checklist, laid out as a schedule you can actually keep. The idea is two full passes a year, timed to the Pompano Beach seasons rather than to a calendar reminder you’ll ignore.
Pass one – late spring, before the wet season:
- Lubricate all moving metal: hinges, roller stems, springs, bearing plates.
- Clean the tracks and check for debris and bends.
- Inspect for corrosion on the torsion bar, hinges, and brackets.
- Check the weatherstripping before the rain arrives – replace any flat or cracked sections.
- Run the balance test and both safety reverse tests.
- Look over the wind-load hardware and note anything loose.
Pass two – late fall, after the wet season and storm season:
- Lubricate again (this is the six-month mark – don’t skip it).
- Check for the corrosion the wet months may have started.
- Re-check the weatherstripping for damage from the rains.
- Inspect the wind-load reinforcing hardware for storm-season wear.
- Test the safety reverse and balance again.
- Fix or flag anything that got worse since the spring.
Two full passes a year is enough for most Pompano Beach homes. If your door gets heavy daily cycle use – and many on this coastline do, since the garage is the everyday entry – consider a mid-year lubrication top-up. It’s fifteen minutes and it pays for itself. Our technicians have up to 8 years of experience with all kinds of residential doors, and they’ve watched what a good maintenance rhythm does for a door’s lifespan. If you want help putting your schedule together or working through a checklist item you’re unsure about, our team covers the whole lifecycle, from routine adjustments to a full replacement. The idea is built for your door, not ours: we don’t push replacement when repair and maintenance will do. A door that’s properly maintained can serve you for a very long time.
Common Mistakes to Avoid
- Using WD-40 as your lubricant. It’s a light solvent and penetrant, not a lasting lube. It thins out fast, leaving metal unprotected in a humidity that needs a real coating. Use silicone spray or white lithium grease.
- Heavy grease on hinges and rollers. Tacky grease captures the grit that blows in and works it into the moving parts, accelerating wear. A light lubricant that resists moisture is the right call.
- Lubricating the tracks. It seems logical, but it attracts dirt that fouls the rollers. Keep tracks clean and dry; lube the moving parts, not the guide.
- Winding or adjusting springs yourself. The most common cause of serious injuries. Spring repair is a technician job, every time.
- Paying attention to the door and forgetting the opener. The opener has its own maintenance needs. An opener that’s struggling is a warning sign, and testing the safety reverse regularly tells you a lot about its health.
- Checking weatherstripping only once a year. Pompano Beach’s wet/dry cycle wears the seals on both ends, so check before and after the rainy season, not just once.
- Ignoring wind-load hardware after storm season. It’s easy to forget a strut or a loose bracket, but the door’s rating depends on all of it being in place and secured. Check it every season.
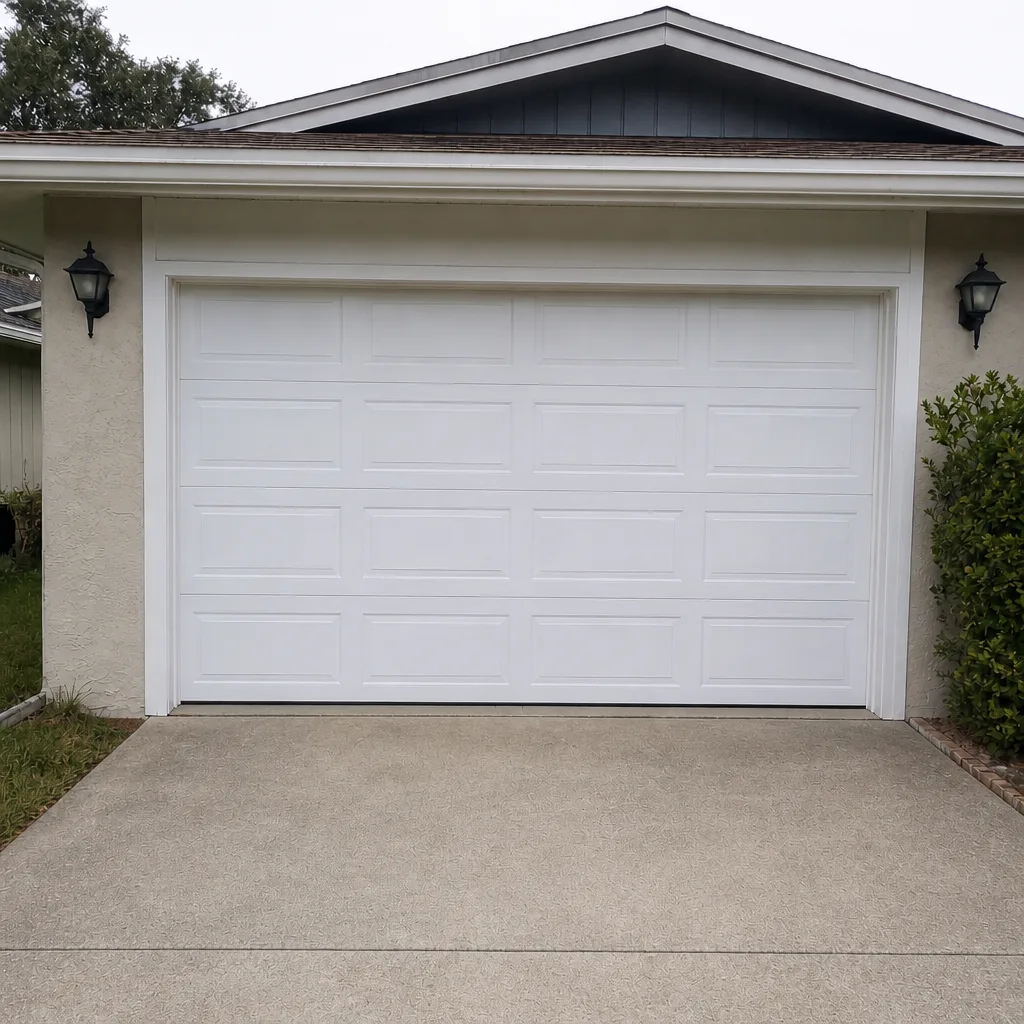
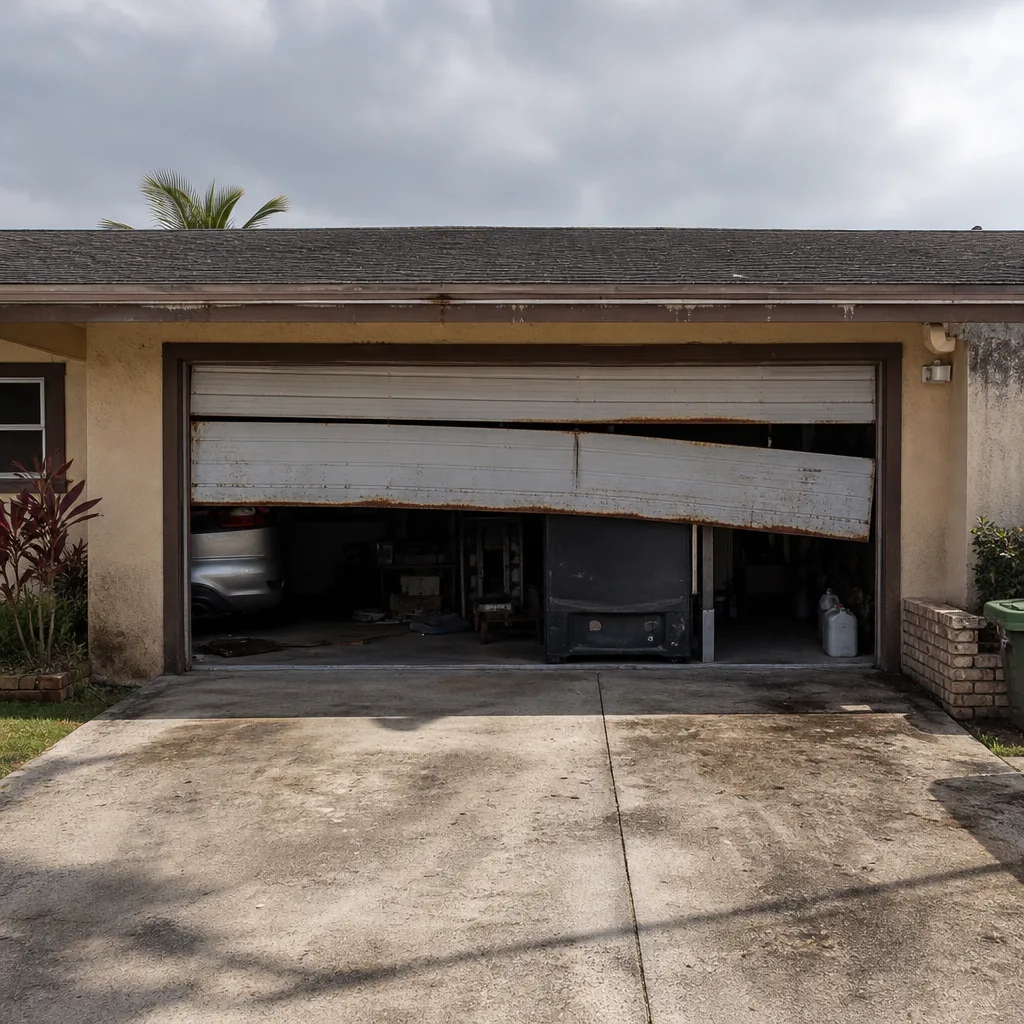
See the difference
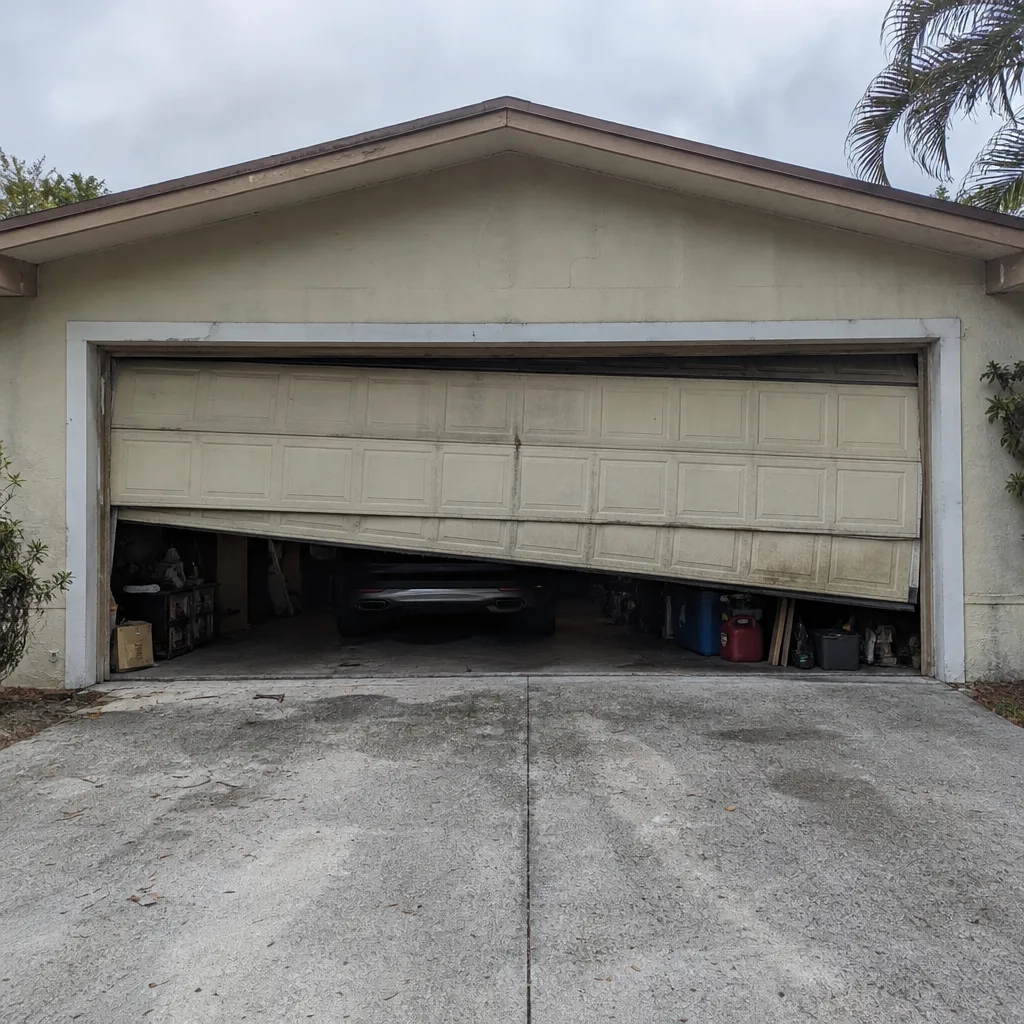 Before
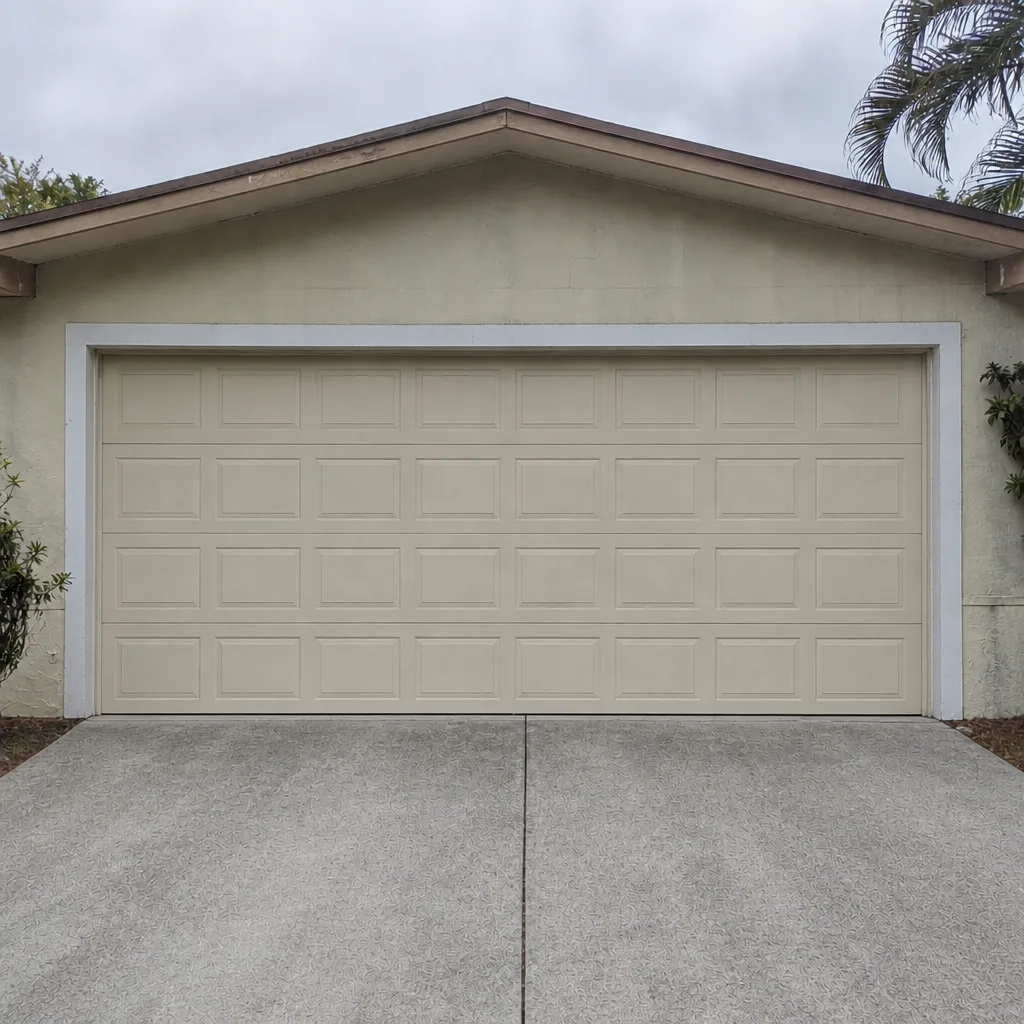 After
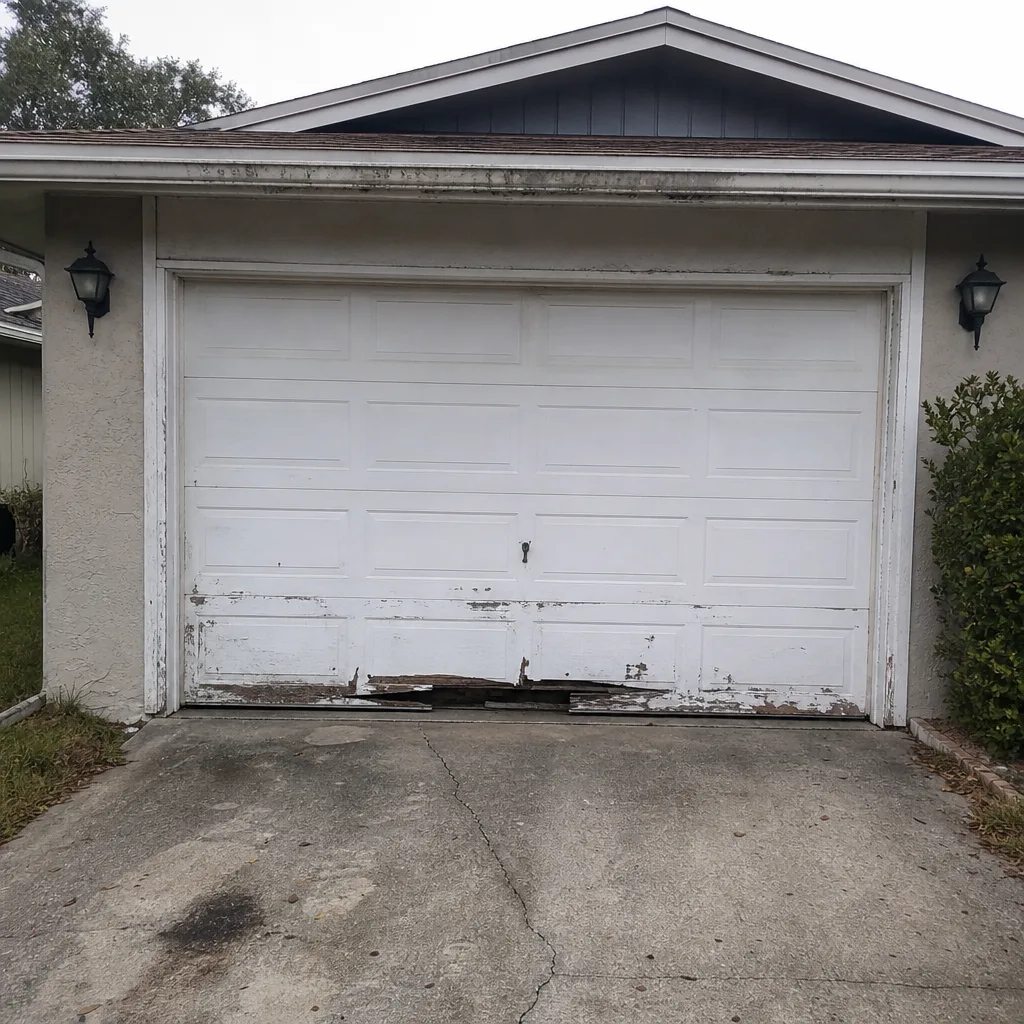 Before
 After
 Before
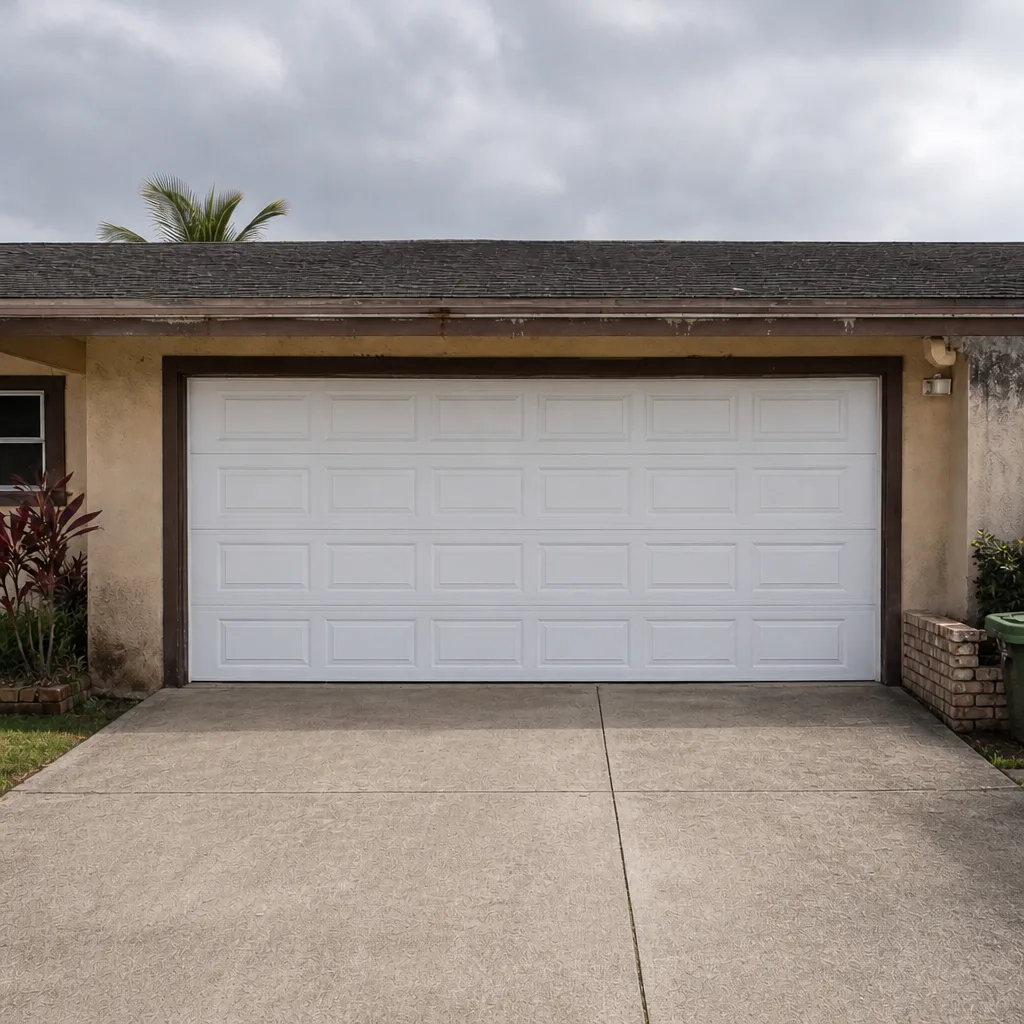 After
When to Call a Professional
Some things are worth a phone call. Call us if the door won’t open or close, if a spring has broken or a cable looks frayed, if the door is off its track, or if the balance test shows a door that slams down or springs up. Call us if the opener reverses on its own, won’t respond to the remote, or makes a grinding or humming noise. Call us if you see heavy corrosion on the torsion hardware, or if you’re simply not sure whether something is safe to operate any longer. We answer 24/7 and dispatch with fast dispatch from 7am to 7pm, Sunday through Friday. A call outside those dispatch hours is booked into the next opening. We handle everything from emergency service to routine repair, opener repair, and new installation. Pompano Beach Garage Door Repair Co offers free estimates in Pompano Beach – call (855) 658-4102. The price is set per job by the written estimate, and nothing starts until you agree to it.
Frequently Asked Questions
Twice a year – once before the wet season and once after it – covers the essentials, with a mid-year lubrication top-up if your door gets heavy daily use. Lubrication is the single item you shouldn’t skip, because humid air attacks unprotected metal continuously. Call (855) 658-4102 if you’d like help setting up a schedule for your door – estimates are free.
Silicone-based spray or white lithium grease. Both coat metal and resist moisture without attracting grit. Avoid standard WD-40 (a light solvent that doesn’t last) and heavy tacky grease (which traps grit). Apply a clean coat every six months to hinges, roller stems, springs, and bearing plates.
You can look at them for rust and springs, but you should not touch, adjust, or wind springs yourself. They’re under extreme tension, and a wrong move can cause severe injury. If you see corrosion or notice a broken spring, don’t force the door open – call a technician. Call (855) 658-4102 and we’ll get a pro out to look – estimates are free.
Look at the reinforcement struts, reinforced hinges, and track anchors after every storm season. The wind-load rating depends on all of that hardware being intact and tight. If you can’t tell what’s supposed to be there, a technician can identify it – and if your door is older and you’re weighing repair versus replacement, a free estimate on garage door repair in Pompano Beach will tell you where you stand. Call (855) 658-4102.
Usually because moisture has worked its way into the hinges and rollers, and the parts are binding. Lubricate the moving metal parts with silicone or white lithium spray and run the door a few times. If it’s still loud, the opener or the rollers may need a professional look. Call (855) 658-4102 for an exact quote – estimates are free.
It depends on the job, and the written estimate is the final price. A service call for a common adjustment or opener repair is typically less than a spring replacement, and a pair of springs is usually replaced together. We’ll quote before any work starts, so you know the number going in. Call (855) 658-4102 to book a free estimate.
The Bottom Line
The long-term fix for a garage door in Pompano Beach is a simple, repeatable routine: lubricate the moving parts twice a year with the right product, inspect for corrosion, test the balance and safety reverse, keep weatherstripping in shape through the wet/dry cycle, and check hurricane-rated hardware after storm season. Leave spring tension and cable work to a technician. The details that separate a door that lasts from one that fails early are humidity and routine – and the routine you can do yourself. We work on the brand you already have, and from opener to panel, one call covers it all when you need a hand. Whether a door needs a small fix or a full look at its maintenance plan, our team is happy to help. Call (855) 658-4102 for a free estimate, and if you’d like the bigger picture on our full range of work, you can start with garage door repair, garage door opener repair, or a fresh garage door installation – or reach out to the team at Pompano Beach Garage Door Repair Co.
Written by the team at Pompano Beach Garage Door Repair Co.